My pal Jess and I were chatting about banana bread the other day, and I happened to mention that I was actually looking for a good banana bread recipe. And Jess quite helpfully offered to share her former nanny’s grandma’s recipe for banana bread. Naturally, I happily accepted, and I made the recipe a few weeks late—and it was scrumptious. So big props to Jess’s former nanny’s grandma, Carrie Francis.
Carrie’s Banana Bread
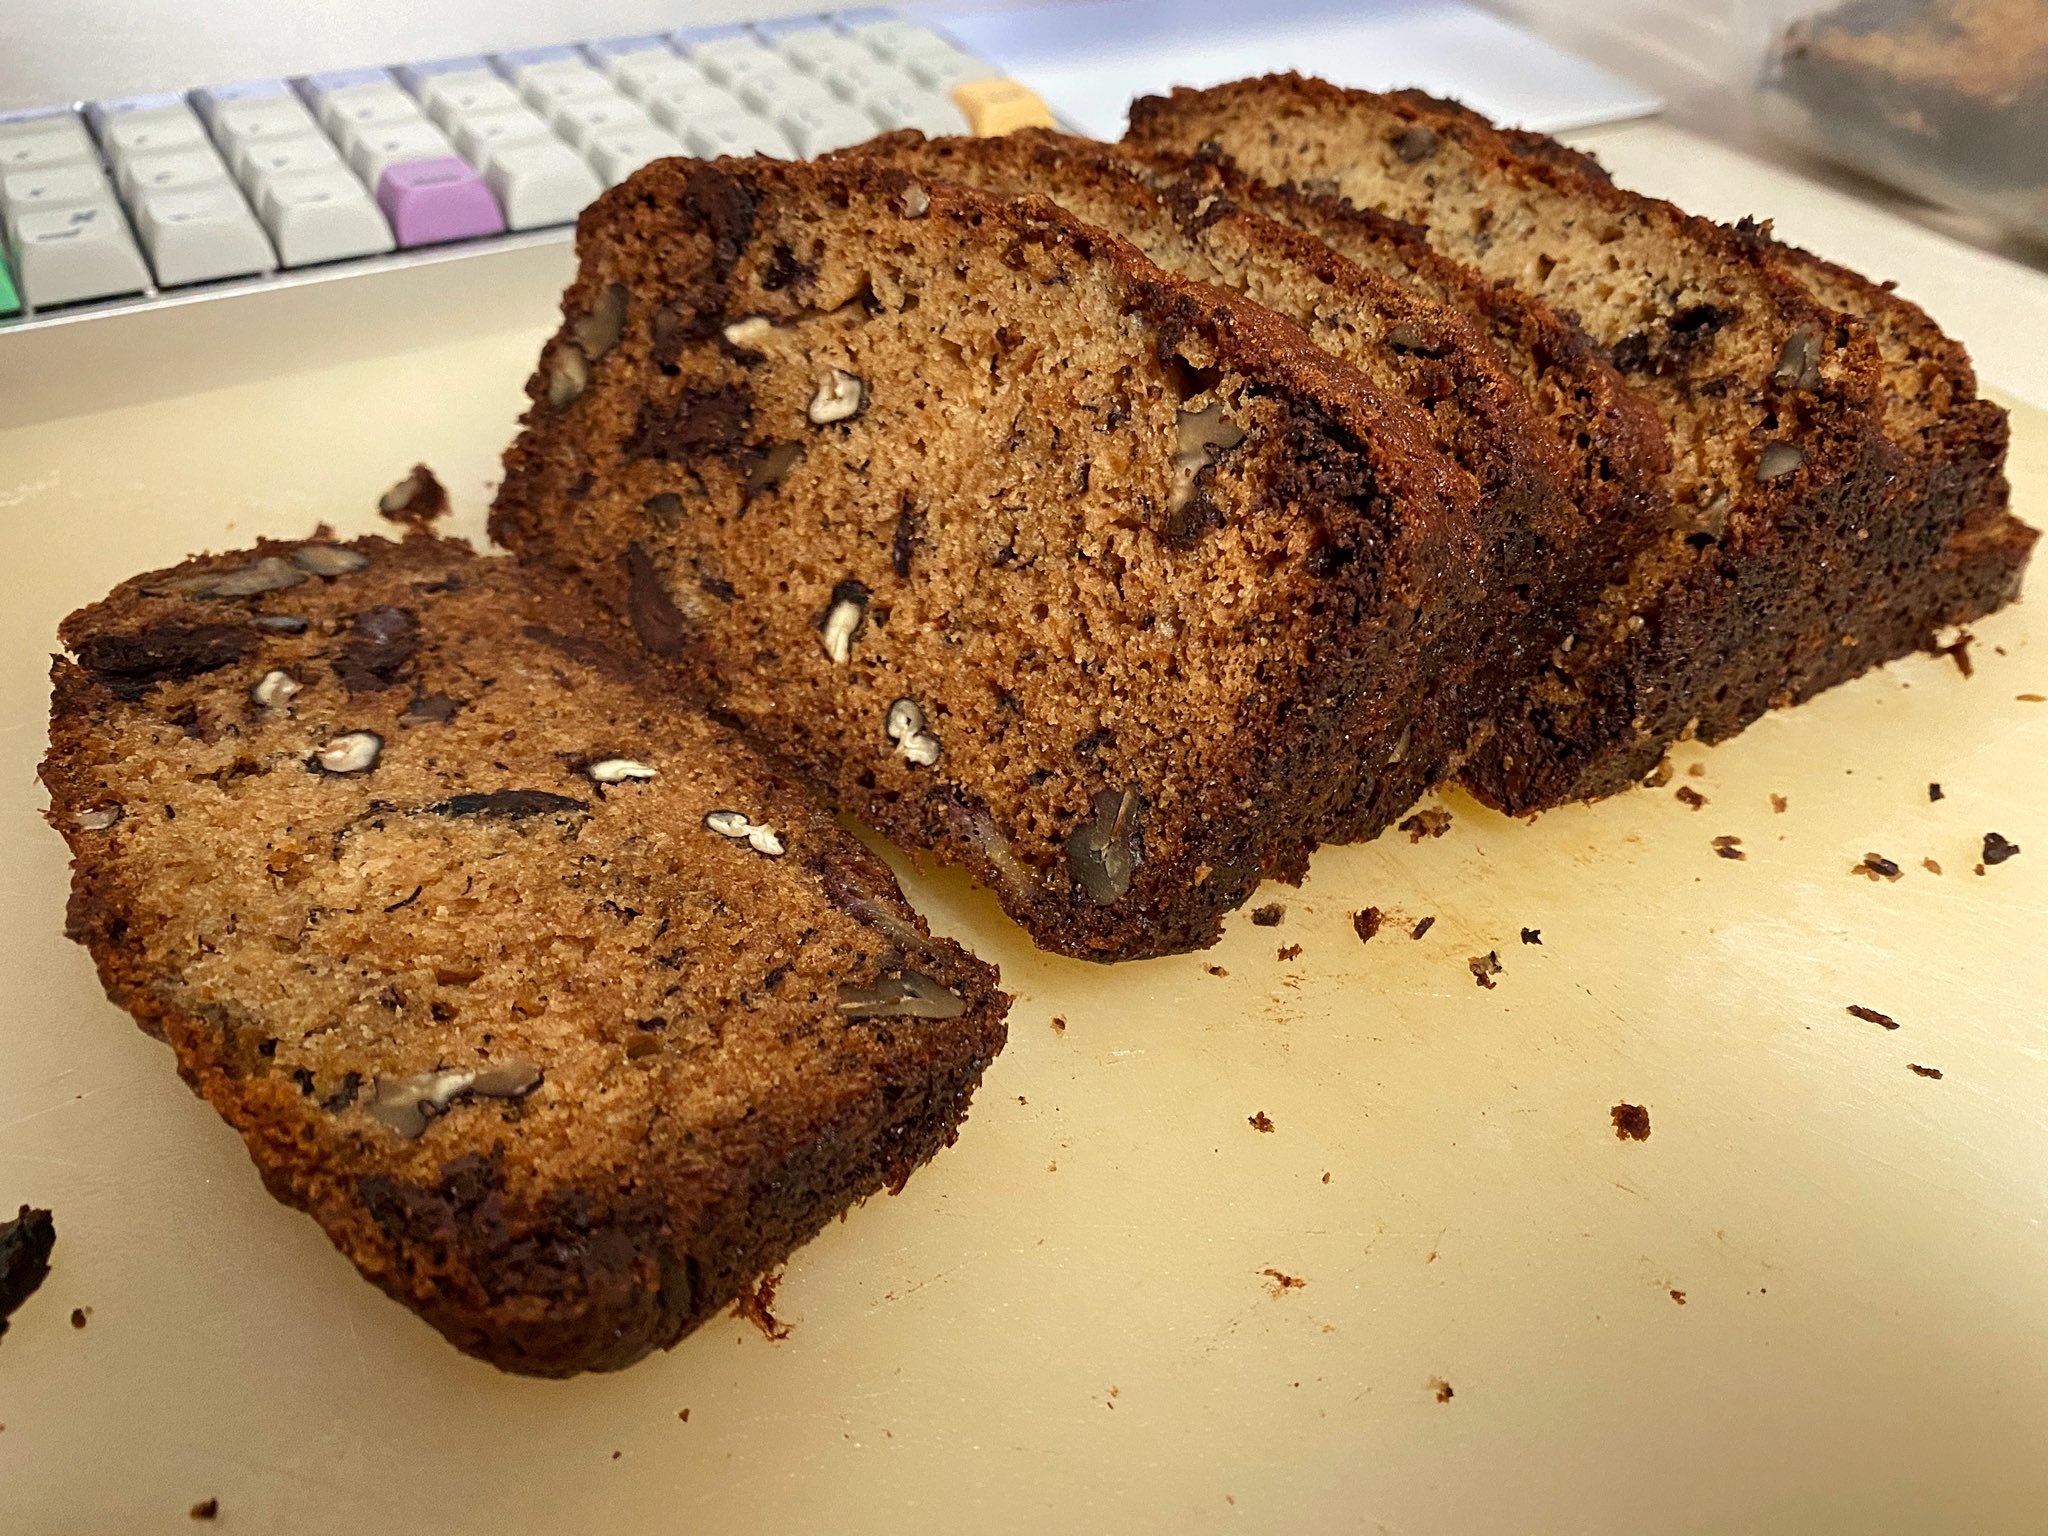
You can optionally mix in 1 cup of goodies—such as chocolate chips, chopped nuts, or even blueberries. I happen to prefer a combination of ½ cup of chocolate chips and ½ cup of chopped pecans, but feel free to go with whichever combination you’d like.
Ingredients:
- 1 ¾ cups (249 grams) all-purpose flour
- 1 tablespoon baking soda (yeah, the big measuring spoon)
- 1 ½ teaspoons baking powder
- 2 teaspoons kosher salt (such as Diamond Crystal kosher salt) or 1 teaspoon table salt (bonus tastiness points if it’s noniodized salt)
- 1 stick (½ cup or 113 grams) butter, softened or at room temperature (Or for a vegan version, I’ve had success with Miyoko’s Vegan Butter, which I found at Target.)
- ½ cup (99 grams) dark brown sugar
- ½ cup (99 grams) white sugar
- 2 eggs that have come to room temperature (Or for a vegan version, I’ve had success with Bob’s Red Mill Egg Replacer, which I found at Target.)
- 3 mashed bananas
- 1 teaspoon vanilla extract
- ½ cup chocolate chips + ½ cup chopped pecans (or whichever mixins strike your fancy)
Directions:
If you’re looking to include nuts among your mixins, such as pecans or walnuts, I’d recommend toasting them to bring out their flavor:
Heat your oven to 350°F (177°C).
Spread the nuts evenly on a rimmed baking sheet.
Set the baking sheet in the oven for 5 to 6 minutes.
Take out the baking sheet and set it aside to cool while you prepare the other ingredients. (If you add the nuts to the batter while they’re still hot, they could start to cook the eggs.)
Set the oven to 325°F (163°C).
In a medium-sized mixing bowl, sift together the flour, baking soda, baking powder, and salt. Set this bowl aside.
In a large mixing bowl, add and mix the remaining ingredients in order.
Slowly mix in the dry ingredients from the bowl that you set aside earlier.
For banana bread: Pour the mixture into a buttered loaf pan. Bake for 1 hour or until a knife or toothpick comes out clean.
For muffins: Butter a muffin tin and cook for 30–40 minutes until a knife or toothpick comes out clean.